Channel settings page
Administrator access
Admin level users will see a cog icon next to the name of the Channel.

Push on the cog icon to edit the settings for that Channel.
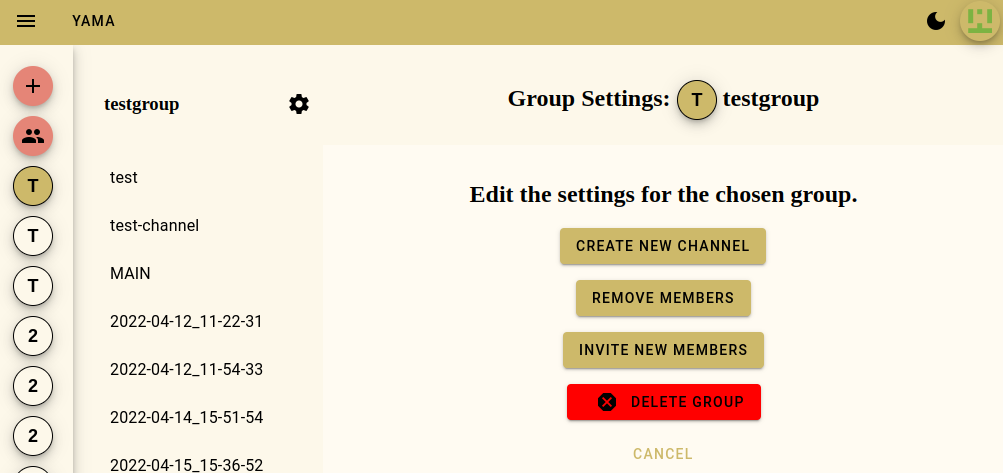
Create New Channel
After pushing the Create New Channel button to create a new channel under your Group.
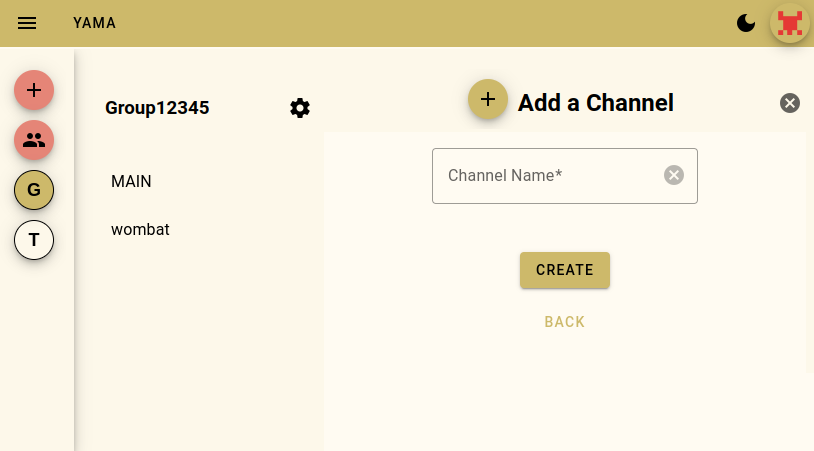
Enter the new Channel name and push the Create button.
Push Back to go back to group settings page.
Push the icon closes the page to reveal the chat screen.
Invite New Members
Push the Invite New Members button to invite a new person to your Group.
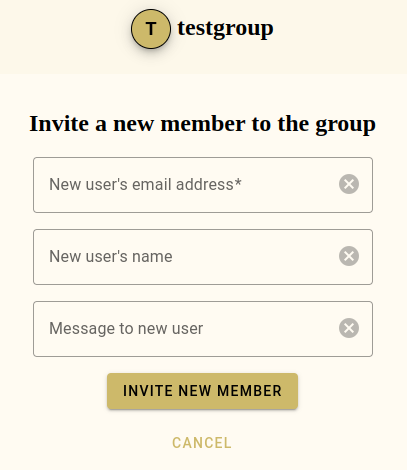
Enter the new user's email address*, their name, and a message to the new user.
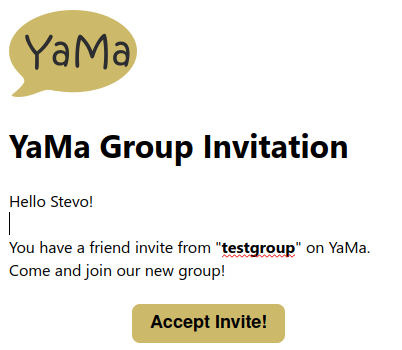
Once you push the Invite New Members button, an email will be sent to that address.
The new user must accept the email invitation before they will be authorised to join your Group.
* Required Field
Email sent
Channel Settings
The user can edit the channel name, delete the channel, or modify who has access to the channel here.
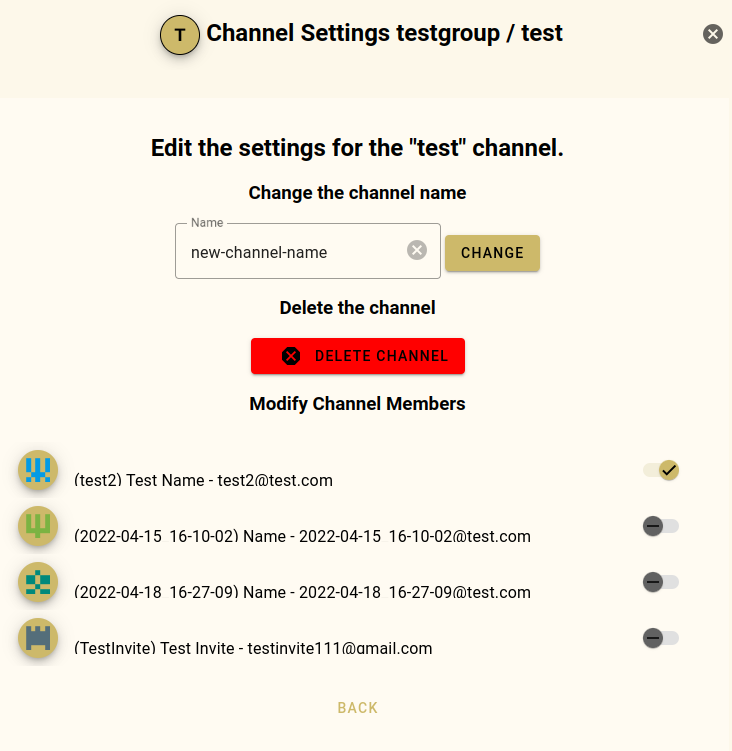
Enter a new channel name and push the Change button.
Push the Delete Channel to delete the channel.
You will be taken to a confirmation screen informing you of the actions that will be taken once the Channel has been deleted.
Once you read and understand the actions, push the Delete Channel again.
Push Back or the button to go back to the previous screen.
Remove Members
Push the Remove Members button to remove a current member from your Group.
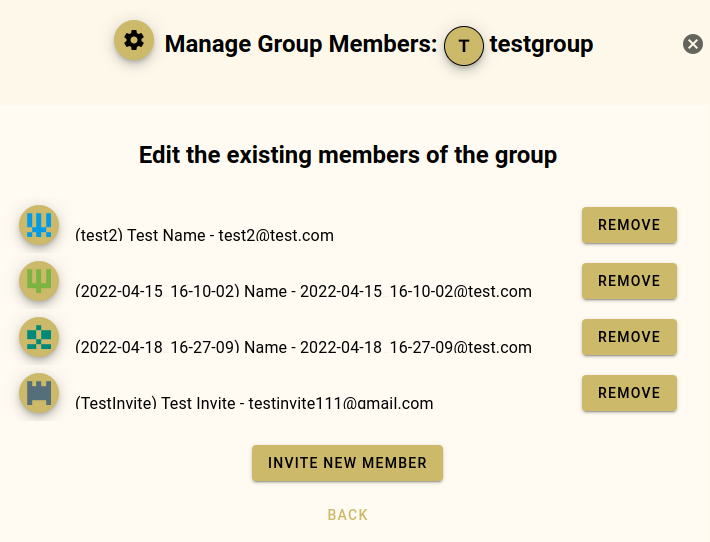
Once you push the Remove Members button, the member will be removed from your Group.
Push Back or the button to go back to the previous screen.
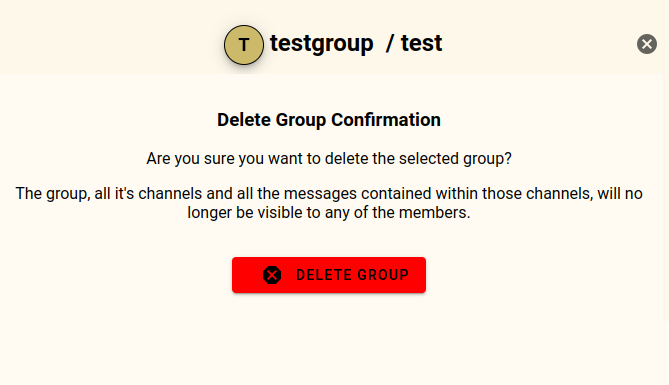
Delete a group
When you push the Delete Group button, you will be taken to a confirmation screen informing you of the actions that will be taken once the Group has been deleted.
Once you read and understand the actions, push the Delete Group again.
Return to previous screen
Push the button to go back to the previous screen.